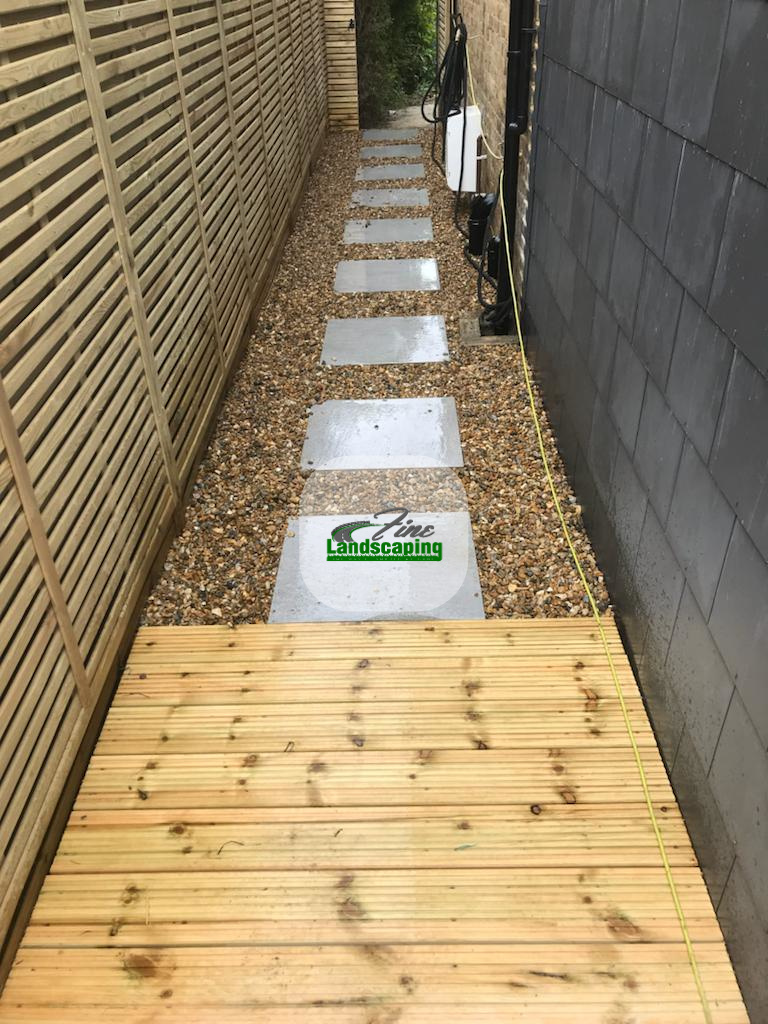
Keeping the garden in best condition can be a difficult task that requires a combination of physical, financial and creative effort. Many homeowners opt for gravel surfaces to achieve a clean and attractive garden with minimal maintenance and cost. Laying a gravel path in your garden is an elegant, versatile and durable option, as long as it is done properly. This guide will help you create cost-effective and long-lasting gravel path in your garden, without the need to hire contractors.

The first step in creating a gravel path for your garden is to plan the design and layout of the path.
Before beginning the project, it is important to carefully plan the design and layout of your garden’s gravel path. Consider factors such as the starting and ending points, desired width, and budget for the project. Keep in mind that the longer or wider the path, the more materials will be needed. Make sure to accurately calculate the amount of gravel or aggregates required to avoid delays or additional costs. Experiment with different path routes and use marking paint or string to map out the final design. Additionally, ensure that the base surface is suitable for a gravel path, taking into account any steep inclines that should be avoided.
Step 2: Choosing your Gravel
When choosing the type of aggregate or gravel for your path, there is a wide variety of options available. Each type has its own unique benefits and best uses. For example, if the path will be on sloped ground, consider using 20mm slate chippings or Cotswold Golden 10mm aggregates, as they can easily handle uneven ground, particularly during rain. Generally, gravel up to 16mm is considered the most suitable, while 20mm slate is also good for creating a flat and comfortable walking surface.
Don’t be afraid to explore and get creative, there’s always an ideal aggregate for your desired path, but you might discover something new and unique too. For a modern look, consider using Polar White Marble 20mm. If you want a warm and beautiful path, Pea Gravel 10-14mm is an versatile quartz aggregate to consider.
The third step in creating a gravel path is to mark and prepare the area where the path will be placed.
In this step, it is important to mark and define the final route of the gravel path, which you may have already done in the planning stage. There are various ways to mark the route, such as using rope, string, line-marking paint, or even your garden hose. Once you are satisfied with the planned route, it’s time to begin excavation.
Dig a trench within the marked area, aim for a depth of about 4 inches and use a square-edge spade to ensure the sides of the trench are straight and even. Once the excavation is done, smooth the bottom of the trench with a rake and compact it using a tamper or other flattening tool.

The fifth step in creating a gravel path is to enclose the area where the path will be placed.
Once the trench is straight and compacted, it is important to install the area with a border to keep the gravel in place. There are many options to choose for the edging such as metal edging, bricks, wood, or stone. those borders should be placed on both sides of the path. Example to use contrasting colored bricks to create an attractive and durable border.
The crucial step in installing a gravel path is to line the smooth and compacted soil at the bottom of the trench with crushed stones Mot. This layer should be about 10cm deep and should be level across the entire path area. It’s important to compact the crushed stone by using a walkerplate compactor, which can be rented from a local DIY store.
Laying the weed membrane and installing the Gravel
An important step in the process is to add a permeable membrane between the base of the trench and the top layer of gravel. This membrane will prevent the gravel from mixing with the base layer of hardcore or soil and also prevent weeds from growing through the gravel. It is highly recommended for a long-lasting and well-maintained gravel path.
After installing the weed barrier membrane, it’s time to apply the final layer of gravel. Be sure to spread it evenly with a depth of at least 2-3cm. The gravel can be spread by shoveling it onto the membrane and then leveling it out with garden rake.


To keep your garden’s gravel path in good condition, it is important to maintain it regularly. Here are some tips to ensure that your path lasts for years to come:
- Keep the path and its surroundings well-weeded before laying the path.
- Rake and tidy up any moved aggregates frequently to maintain an even surface.
- Address low spots or potholes as soon as they appear. They can be caused by difficult weather, but can be prevented by regular raking. To fix them, widen the pothole and fill it with new gravel.
- Expect to lose and replace some gravel over time. General wear and tear can result in redistribution of loose gravel, especially after difficult weather. Keep a stock of spare gravel of the same color and size to top up as needed.
